

The Ultimate Guide to Pre-Culling: Speeding Up Your Post-Production Pipeline
As a wedding studio owner, your calendar is packed, your hard drives are filling up, and the pressure to deliver is always on. You want to scale your business, but the sheer volume of raw footage from a single weekend can bring your momentum to a dead stop.
The secret to a fast turnaround isn’t just about editing faster; it’s about prepping smarter. By implementing a solid pre-culling routine, you can streamline your entire post-production workflow, make collaboration with a wedding video editing service seamless, and get your weekends back.
Why Culling is the Ultimate Pipeline Bottleneck
We’ve all been there. You sit down to start a new project, and you’re looking at hundreds of gigabytes of raw clips. Walking down the aisle from three different angles, out-of-focus B-roll, and accidental shots of the grass.
Sorting through this mountain of media drains your creative energy before you even touch the timeline.
When you rush through culling, you end up cluttering your project file. This slows down your video editing software, makes it harder to find the gems, and adds days to your delivery timeline. If you work with an external partner, sending unorganized, bloated project files can delay your drafts and increase your overhead.
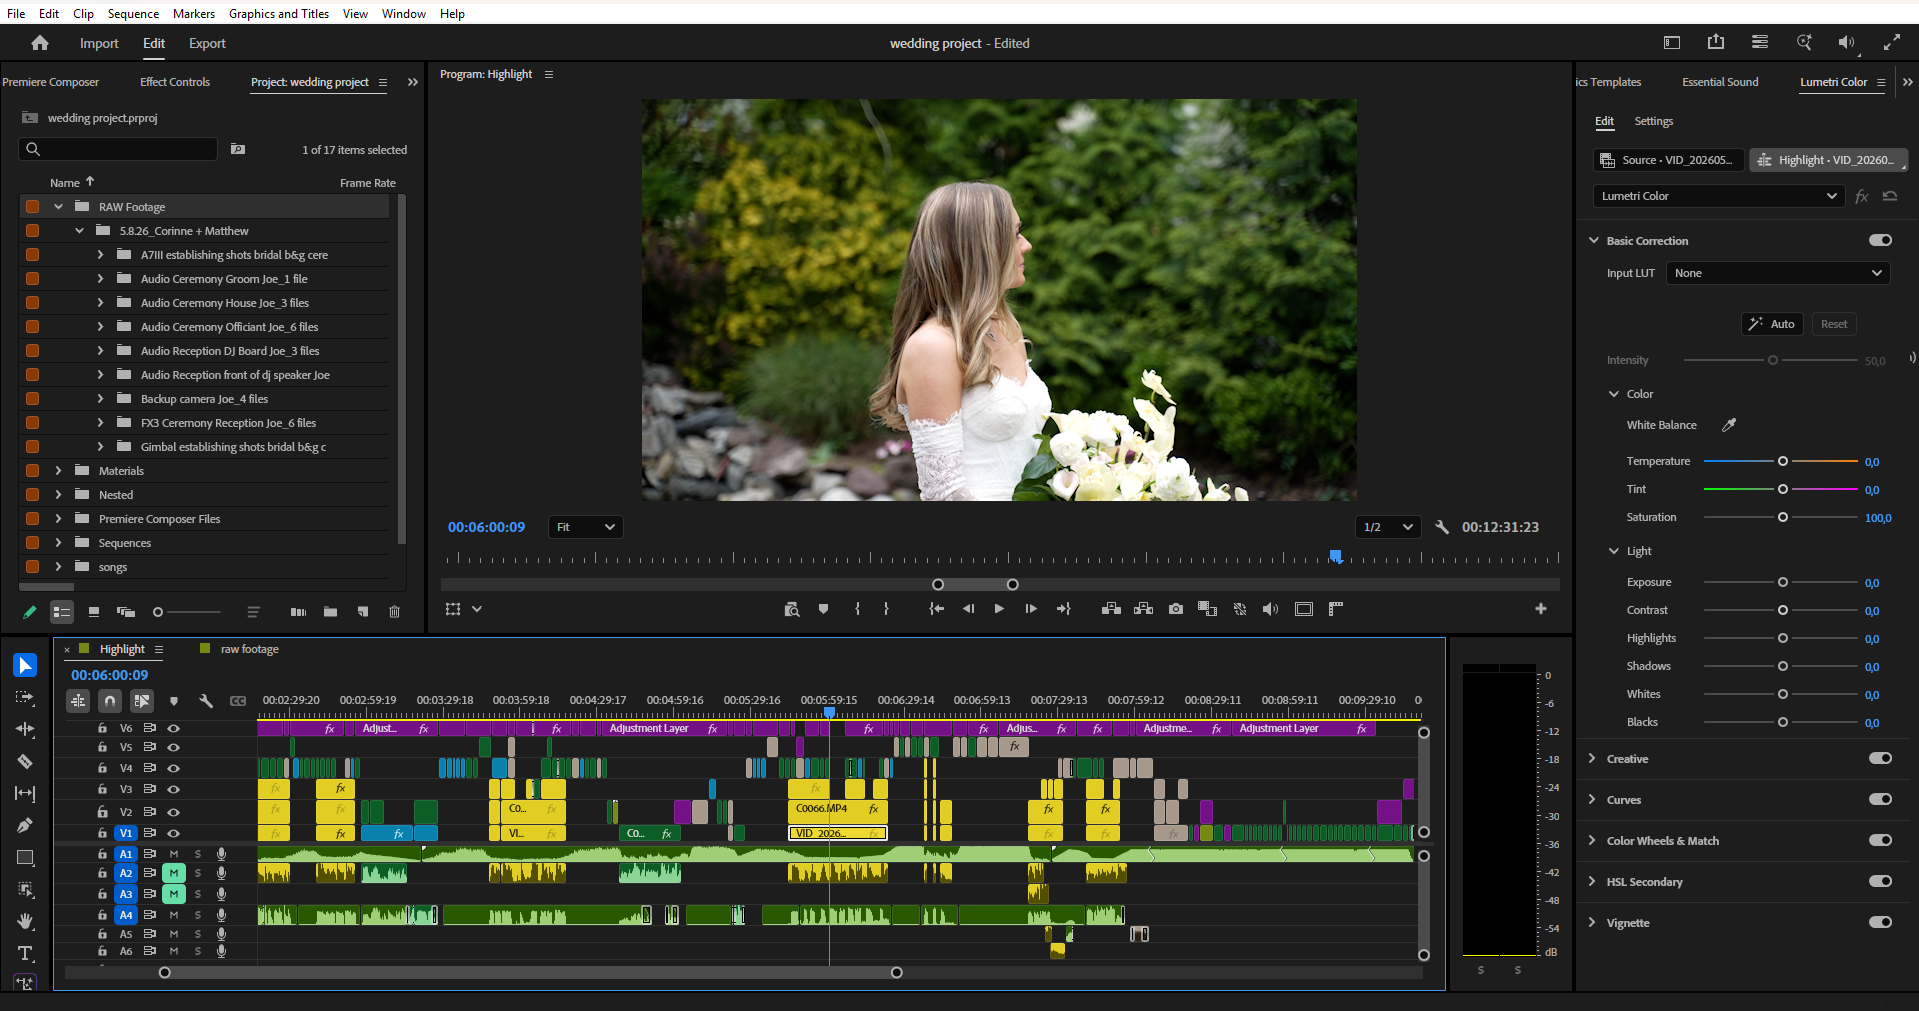
3 Steps to Optimize Your Pre-Culling Workflow
Fixing your post-production pipeline doesn't require a total overhaul. A few targeted adjustments right after a shoot will make a massive difference.
1. Shoot with the Edit in Mind
The best pre-culling happens on set. Train your team to avoid over-shooting. Instead of letting the camera roll continuously during prep, look for the moment, capture it, and cut. This simple habit keeps your file sizes manageable and eliminates hours of junk footage later.
2. Run a "First Pass" Delete
Don’t overthink this stage. Before you build a narrative or sync audio, open your footage and aggressively cut out the obvious mistakes:
Accidental camera triggers
Severely overexposed or underexposed shots
Out-of-focus clips or shaky camera adjustments
3. Use Rating Systems Effectively
Whether you use Adobe Premiere Pro, DaVinci Resolve, or dedicated viewing software, establish a strict star or color-labeling framework.
Green/5 Stars: Absolute must-haves for the highlight film (the epic portrait shot, the emotional tear during vows).
Yellow/4 Stars: Strong storytelling elements and reliable B-roll.
Red/1 Star: Technical errors or duplicate angles to be ignored.
Handing Off a Clean Project
If you are looking to scale your business to handle higher wedding volumes, you can't keep doing everything yourself. But handing off a project doesn't mean giving up your creative voice.
When you pre-cull your footage and organize your bins into a clean, structured project file, outsourcing becomes your greatest asset. Your editing partner can jump straight into the storytelling and pacing, rather than wasting time sorting through mismatched clips.
By cleaning up your timeline before the handoff, you ensure that the final cut aligns perfectly with your brand's style and standards.
Scale Your Studio with Smarter Workflows
Mastering your pipeline is the key to moving from a burnt-out videographer to a profitable studio owner. When you protect your time and optimize your media management, you open the doors to true business growth.
If you are ready to completely clear your editing backlog and focus on scaling your brand, we are here to help. Partner with Amor Edits today to experience a seamless, high-end wedding video editing service tailored to your studio’s unique style.